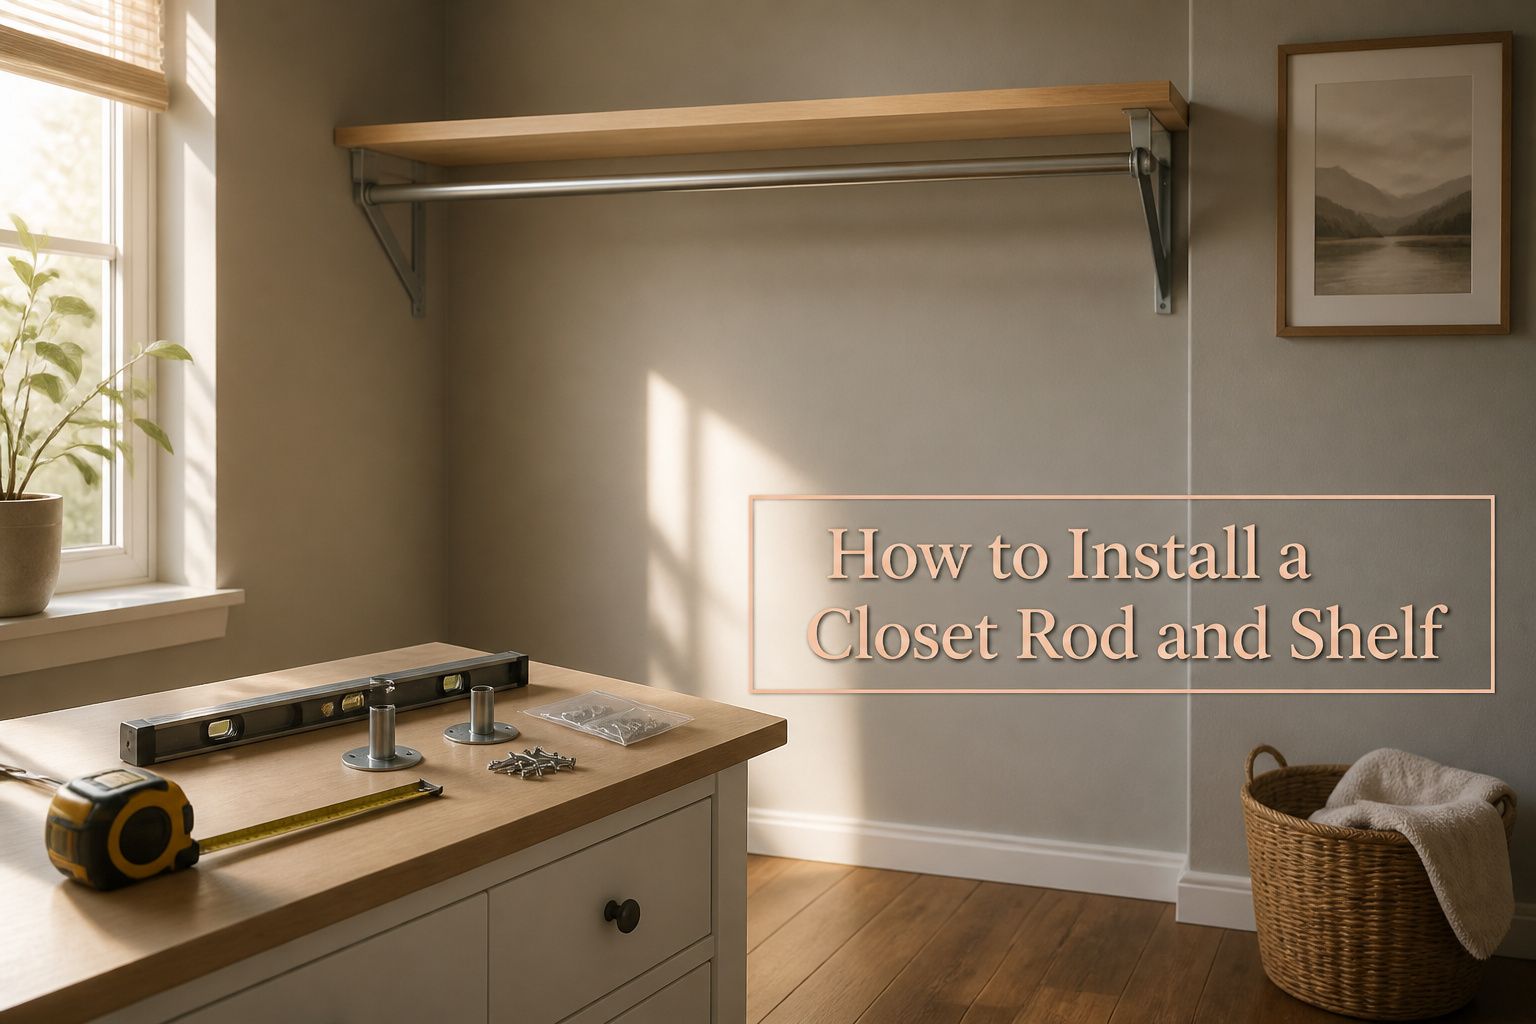
Installing a closet rod and shelf means threading a metal tube between two wall brackets and laying a board above it, but the wall-to-wall measurement you start with is almost never the rod length you actually need. Each flange eats a measurable bite of that span, and skipping the subtraction leaves you with a rod that jams, bows, or refuses to seat at all. Hardware Décor will cut to your corrected length for free, which saves the trip back to the store when your first cut proves half an inch too long.
Measuring for the Rod and Shelf

The wall-to-wall measurement is where most closet rod installs start to go sideways. Stretch your tape from inside surface to inside surface, then subtract 1/4 inch total to account for the closed flanges that cup each end of the rod. Skip that subtraction and your rod will jam against the brackets, bow slightly under load, or refuse to seat at all. Flange thickness eats usable span; a rod cut to the raw wall measurement ends up too long by however much metal the flanges add.
Hardware Décor runs free custom cutting on their rods, which matters more than it sounds if you do not own a saw worth trusting for a clean square cut. Send them the length you need after subtracting for your flanges, and the rod shows up ready to drop in.
One of the first steps is to make sure that you have a closet rod that will fit your space. You’ll need to measure the distance from wall to wall, but also need to account for the thickness of any flanges.
That custom cut saves you from the hardware store dance of buying long and hoping the employee measures better than you do.
Recommended Products

Premium Quality:These heavy duty closet rod holder are made from high quality stainless steel,thick and rust-resistant,making it more durable and to use.Our closet trolley brackets are will keep looking great after long-term use and are not easy to deform

PREMIUM DURABILITY: Crafted from great quality stainless steel, these brackets for curtain rods are thick, rust-resistant, and designed for long-term use without deformation. These Closet Pole Sockets maintain appearance and stability, providing a no-wobble support for the rods
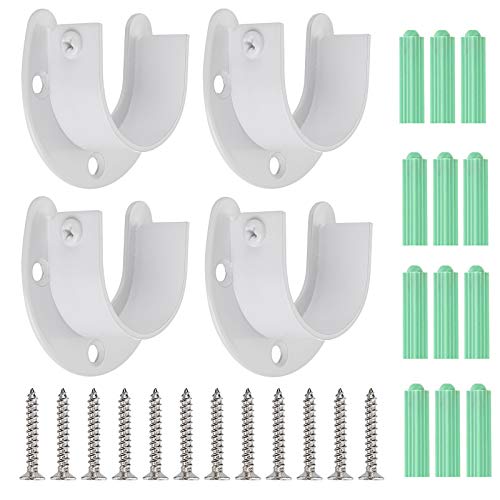
U shaped closet flange rod holder set suitable for closet poles up to 38mm / 1-1/2" in diameter, could be applied in closet, bathroom, window, laundry rooms and other extra storage rod, easy to hanging towels, clothing, ties and other objects.
Marking and Leveling the Flange Locations

The ceiling and floor are almost never level, so a tape measure alone will trick you into a crooked rod. A four-foot level laid against the back wall gives you the only line that matters. Mark the rod height first, then step up the shelf location from there so the two stay in relationship rather than drifting apart.
When both pieces go in, the shelf usually sits a few inches above the rod. I mark the rod line, measure up to the shelf line, and transfer that same pair of marks to every stud location. The level checks each mark, not just the first one. A ceiling that bows down by half an inch will throw every flange off if you measure down from it, and a floor with any slope does the same if you measure up. The back wall and the level are your only honest references.
If the closet has a side return wall, check it too. Rod and shelf lines need to carry around the corner cleanly, and the level held across the inside corner will show whether your marks meet or miss. Small gaps there are the ones you notice every time you hang a shirt.
Recommended Products

Premium Material and Finish: Constructed from durable stainless steel with a clean white finish for long-lasting performance and aesthetic appeal

Hafele TAG Synergy Collection Wardrobe Tube Support, 1 Pair for 1 5/16" Diameter Closet Rod

Excellent Quality - Constructed of solid stainless steel, thick and rust-resistant makes It's durable to use. Those closet brackets hold a maximum diameter of 1-3/8 Inch rod.
Securing the Flanges to the Wall

Drilling pilot holes keeps the flange from skating sideways when you drive the screw home. I use a bit slightly smaller than the screw shank so the threads still bite. For drywall with a stud behind it, a 2-inch wood screw driven straight into the framing holds more weight than the rod will ever see. Hit the stud dead center; a half-inch miss and the screw strips out like butter.
Hollow-core doors or thin partition walls are a different job entirely. A standard wood screw in 1/4-inch luan pulls out if you hang more than a light jacket. Toggle bolts or molly anchors spread the load across the back side of the panel and keep the flange from ripping free once the rod starts bowing under weight. The physical process is the same either way: seat the flange flat, start your screws by hand so they stand upright, then run them in until the base sits flush without warping. If the flange rocks on a wall bump, loosen and slip a washer behind the low corner rather than overtightening and distorting the bracket.
Recommended Products

RETRO PIPE CONSTRUCTION: This clothes rack is crafted from metal pipes, complete with cool industrial looking, easy to match with different styles of room

Package Included: 2 x closet rod bracket with adjustable screws, 6 x mounting screws, 6 x hollow wall anchors. The U-shaped width fits for rod outside diameter in 1 inch, mounting hole spacing: 1.57 inch/40mm, 1.18 inch/30mm.

Retro Design:The pipe clothes is made of steel galvanized pipe and black powder coated surface.Its unique and vintage look is great in your room and could be also used in a hallway, entryway, bedroom, closet, laundry room or balcony
Open Flanges

Open flanges are the friendliest hardware for anyone working alone. The bracket faces upward with a curved cradle, and the rod drops in from above rather than threading through a closed ring. That "up and over" motion means you can position the rod, let it settle into both cradles, and step back to check level before anything is permanent. No second set of hands needed to keep a long pole from torquing while you fight with set screws.
This style shines in reach-in closets where the rod runs wall to wall and a shelf sits directly above it. The shelf acts as a natural stop, so the rod cannot lift out unless you deliberately angle it upward. Without that overhead shelf, the rod lifts straight out if someone bumps hangers upward or a kid treats the closet like gym equipment. For a standalone rod with no shelf above, a closed flange or a small set screw through the side of the cradle solves the problem, though both complicate solo installation.
Recommended Products

PREMIUM - 1 5/16 Inch Diameter Round Wardrobe Tube Closet Rod with End Supports and Mounting Screws
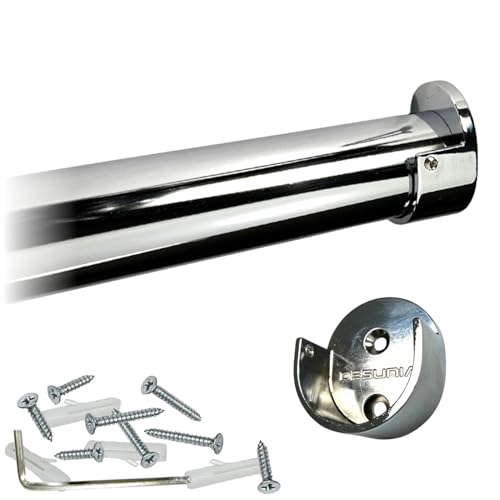
✅CUSTOM CUT - We do the hard part so you don't have to! Just give us the size you want and we'll take care of the rest!
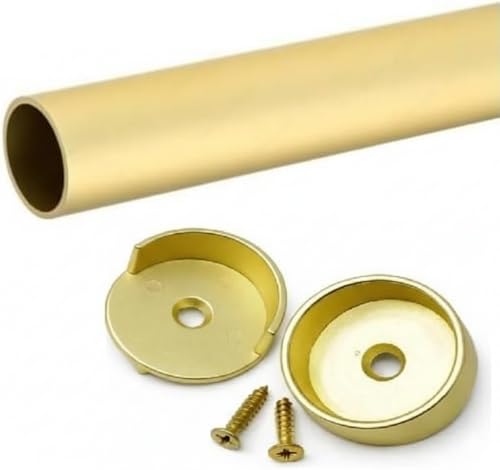
CUSTOM SIZING: Kitchen Inventions Premium closet rod can be cut to any length between 10-94 inches to perfectly fit your wardrobe or closet space.
Closed Flanges

Closed flanges lock the rod in place permanently, which changes how you measure and how you install. The rod has to be ¼ inch shorter than the wall-to-wall distance so you can slide a flange over each end, position the assembly, and screw the flanges to the wall. That quarter inch is the breathing room; without it, the rod binds against the drywall and the flanges never sit flush.
This setup calls for either two people or one person with a brace. One person holds the rod level while the other drives the screws, or a temporary brace props one side while you anchor the first flange, then you shift and finish the second. The extra hassle pays off if your closet sees heavy loads or if someone in the house treats the rod like a pull-up bar. A fixed rod in closed flanges has nowhere to go; it cannot walk out of its sockets or tilt downward at one end.
Recommended Products

Heavy Duty High-Quality Steel - KOVOSCH heavy duty shelf bracket are made from high quality steel with a fine painted surface, strong and long-lasting use.


Pole support brackets are made from high quality steel, include portions for supporting both a rod and shelf, white finish, durable, sturdiness and long-lasting use
Invisible Flanges

Invisible flanges disappear entirely once the rod is in place. The hardware comes in two pieces: a backplate that mounts to the wall, and a threaded cuff that slides onto the rod end. You mark and level your locations, secure the backplates, then thread the cuffs into them after the rod is positioned. The payoff is a clean look with no visible bracket, just the rod meeting the wall. The tradeoff is alignment. Both cuffs have to engage their backplates at the same time, which means the rod needs to stay level while you work both ends. A second pair of hands helps, or a scrap of wood cut to closet depth and slipped underneath as a temporary ledge. Without that support, the rod drifts, the threads catch at an angle, and you end up backing out and starting over. The fuss is worth it if you want the hardware to read as nothing at all.
Recommended Products

Package included: 2 pieces closet pole brackets for 15mm x 30mm oval rods, 4mm*20mm screws, wall anchor included. Size: 1.89" x 0.75"/48mm x 19mm (L x W)

[Multi-purpose]: Versatile rod flange holder for closet is designed to mounted on wall or board frame for wide usage according to your different needs. Perfect for using in wardrobe, closet, balcony, living room, bathroom, laundry room and outdoor storage poles, easy to support curtain, clothes, towels, birdfeeder, butterfly house,light and other objects.

Package Includes: 6 x open-lip sockets, 18 x mounting screws, 18 x hollow wall anchors and 6 x adjustable screws that fixed on the sockets well, which can hold tightly onto wall to support closet pole.
Mixed Open and Closed Flanges

Mixed open and closed flanges solve the one problem every long closet span faces: getting a heavy rod into place without fighting both ends at once. The closed flange takes the load, and the open flange lets you drop the rod in after the fact. Some closet kits ship this way on purpose, pairing one of each in the same bag. That is not a mistake or a missing part. It is the stronger setup for coats and winter gear that bend a rod over time.
The sequence matters more than the hardware itself. Mount the closed flange first, drive the screws tight, and hook that end of the rod into the ring. The open side then rests down onto its bracket without threading anything through. Connect to the closed flange first, then rest the open end. Gravity does the work instead of your shoulder. I have used this for a six-foot span of wool coats in a 1920s closet with no center support, and the rod has stayed level where a double-open setup slowly sagged. The closed ring carries the torque; the open slot just keeps the rod from rolling out.
Recommended Products

Save Your Close Rod From Bending: Load up to 50LB. Our closet support bracket can provide reliable and effective support for the closet rod, preventing the rod from being unstable or bending due to too many things hanging on top of the rod.

Exceptional Durability: experience outstanding durability with our closet rod center support, crafted from quality steel; This robust material confers longevity to the supports and offers well resistance against scratches and wear; Use these closet brackets over time without worrying about them losing their lustrous appeal

Designed for KV Closet-Pro HD Systems; For best fit and performance, use with compatible Knape & Vogt / John Sterling Closet-Pro HD closet components only. Compatibility with non-KV rods, shelves, or brackets is not guaranteed; measure before ordering
Tools for the Job

You do not need a workshop full of gear for this. Most of the tools are already in the junk drawer or the basic toolkit you bought when you moved in.
- Tape measure and pencil: for marking where the rod and shelf will actually sit, not where you guess they should
- Level: a 12-inch torpedo level works, but a 24-inch level saves you from a rod that slopes enough to slide hangers to one end
- Stud finder: drywall anchors hold less than you think in a closet loaded with coats; finding wood is worth the two minutes
- Drill with bits to match your hardware: usually a pilot bit and a larger bit for wall anchors if you miss the studs
- Screwdriver or driver: for the flange screws themselves, though a drill with a clutch set low is faster
- Wall anchors: grab a pack rated for more weight than you plan to hang; the cheap conical ones strip out easier than they look
- Hacksaw or pipe cutter: only if you bought a rod stock and need to cut it to length yourself; custom-cut rods from the hardware store skip this entirely
A stud finder that beeps at every wall imperfection is worse than none. The one that actually finds the edge of the stud, then the other edge, so you can mark center, is the one worth keeping.
Recommended Products

No-Drill Installation: Forget about screws or nails. This adjustable closet rod installs in seconds with a simple twist. The pressure-fit design securely holds the rod in place, providing a damage-free, no-mess solution that won't harm walls or furniture. Perfect for easy, hassle-free setup in closets or laundry rooms.

[DUAL-LOCK STABILITY] — This upgraded closet rod pairs a screw-mounted fixed base with a spring-tension lock for double the security of ordinary tension rods. Once set, it stays put—no sagging, sliding, or midnight crashes, even under a full load.

Product Included: 2 x wardrobe closet rod bracket fits for closet rods outside diameter in 1 inch, 6 x mounting screws, 6 x hollow wall anchors and 2 x adjustable screws. Tighten the adjustable screw for stable installation.
What I Got Wrong the First Time

Measuring wall to wall and calling that the rod length left me with a piece that would not fit between the flanges once they were mounted. The tape measure hits plaster, not hardware, and each flange eats up real width. I had to drive back for the next size down, already an hour into a Saturday I thought would be simple.
I also marked the left flange, drilled, then walked to the right side and eyeballed the height. The rod sat visibly downhill. A level stretched across both marks at once, or even a straight board with a bubble, fixes this before the holes exist.
Drywall anchors were another lesson. I trusted them with a winter coat load in a rental closet, and the right flange pulled out within a month. The fix was finding a stud for at least one side, or using toggle bolts if the wall was hollow. Pilot holes matter too. A bit too wide and the screw spins without grabbing; too narrow and you crack the drywall forcing it. The right size is the one printed on the anchor package, not the one already in the drill.
Recommended Products
CUSTOM SIZED For Perfect Fit!

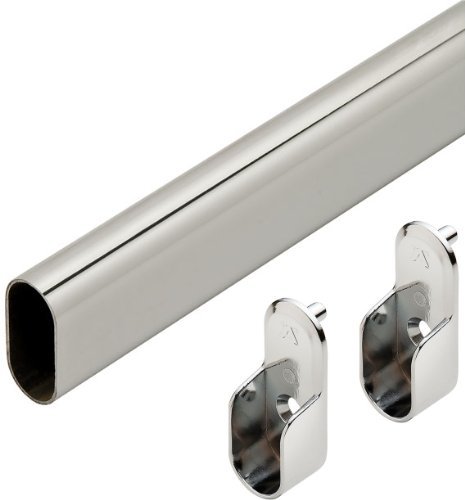
Custom cut to length. Select "Customize Now" to enter total length (opening size) and end support type. Note: Total length includes end supports - rod is 1/4 inch less.

✅CUSTOM CUT - We do the hard part so you don't have to! Just give us the size you want and we'll take care of the rest!
Rod Types and Weight

Wood dowel, steel tube, and aluminum each handle weight differently, and the flange you pair with the rod matters as much as the rod itself. A steel tube with a closed flange, the kind that cups both ends, spreads force across the whole wall plate instead of concentrating it on the set screw. That pairing is what I’d trust for heavy storage like winter coats or bins of sweaters. Aluminum is lighter and resists corrosion, but it flexes more; wood dowel looks warm and takes paint well, yet it can bow over a long span unless you add a center support.
Closed or mixed flanges are the safer call when you plan to load the rod near its limit. An open flange, the U-shaped kind that lets you lift the rod straight out, is handier for temporary setups or guest closets where you might want to remove the rod entirely. I couldn’t find reliable weight ratings stamped on the common hardware-store stock, so I treat every installation as unproven until I’ve hung a full load and watched it for a week. Load it gradually, check for sag or wobble, and add that center bracket if you see the rod start to dip.
Recommended Products

Heavy-Duty Support, Holds Up to 300 lb:Built with a reinforced L-shaped design, this closet support bracket provides a strong, stable base that won’t bend under heavy loads. It keeps your hanging clothes securely supported—day after day.

HEAVY DUTY CLOSET ROD BRACKET Stops Sagging: Worried about your heavy winter coats pulling the rod down? This heavy duty closet bracket is made from thick, rust-resistant steel—not flimsy plastic or thin alloy. It locks shelves and rods firmly in place, staying perfectly level even under maximum load. No more crashing clothes, no more bent rods

High-quality Material: Quality steel construction ensures durability and long-lasting use with a sleek white finish for a modern and versatile look
Frequently Asked Questions
What are the different types of flanges for closet rods?
There are four main types: open flanges with a curved cradle that lets the rod drop in from above; closed flanges that lock the rod permanently in place; invisible flanges with a hidden backplate for a clean look; and mixed setups using one closed and one open flange, which is the stronger choice for heavy loads like winter coats.
How do I measure for a closet rod?
Measure from the inside surface of one wall to the inside surface of the other, then subtract 1/4 inch total to account for the closed flanges that cup each end. Skip that subtraction and the rod will jam against the brackets or refuse to seat at all.